


Thinking the problem was solved, I stretched some rough white fabric that I purchased from Walmart (for a fraction of the price of the canvas from Hobby Lobby!) over a frame and coated it with the emulsion, and then I did two more strip testsjust to be safe. The length of expousre was 1 second per region, up to 15 seconds. The long strip on the left had 1 coat of emulsion, and the strip on the right had 2, just to throw in another variable. The result had both unexpected and expected results: Neither strip curled during processing, which was great news. The strip with 2 coats and a deeper contrast range, which is definitely good to know, however added layer of emulsion softens immensely while washing the fixer off in water, and actually came off while I was patting it dry with a paper towel, which you can see in the middle. One thing I was frustrated to see, is that the unexposed portion STILL managed to get severely fogged. So I decided to do another test: First, I put a paper towel over the opening of the overhead safelight to dilute the light even further. Then, I coated the same Walmart fabric with 1 coat of the emulsion and developed it without exposing. The result is the right piece of fabric in the leftmost image. As you can see, there was a strange inconsistency in the tone of the image. What I realized, is that before I stopped using the Patterson safelight, I had been coating strips on the desk near the light and, thinking myself frugal, was pouring the excess emulsion back into the bottle, and thereby unknowingly contaminated the whole bottle with exposed emulsion :( However, now that I solved this, I could FINALLY move on with creating some art!

The first images I decided to do were basically tests of different
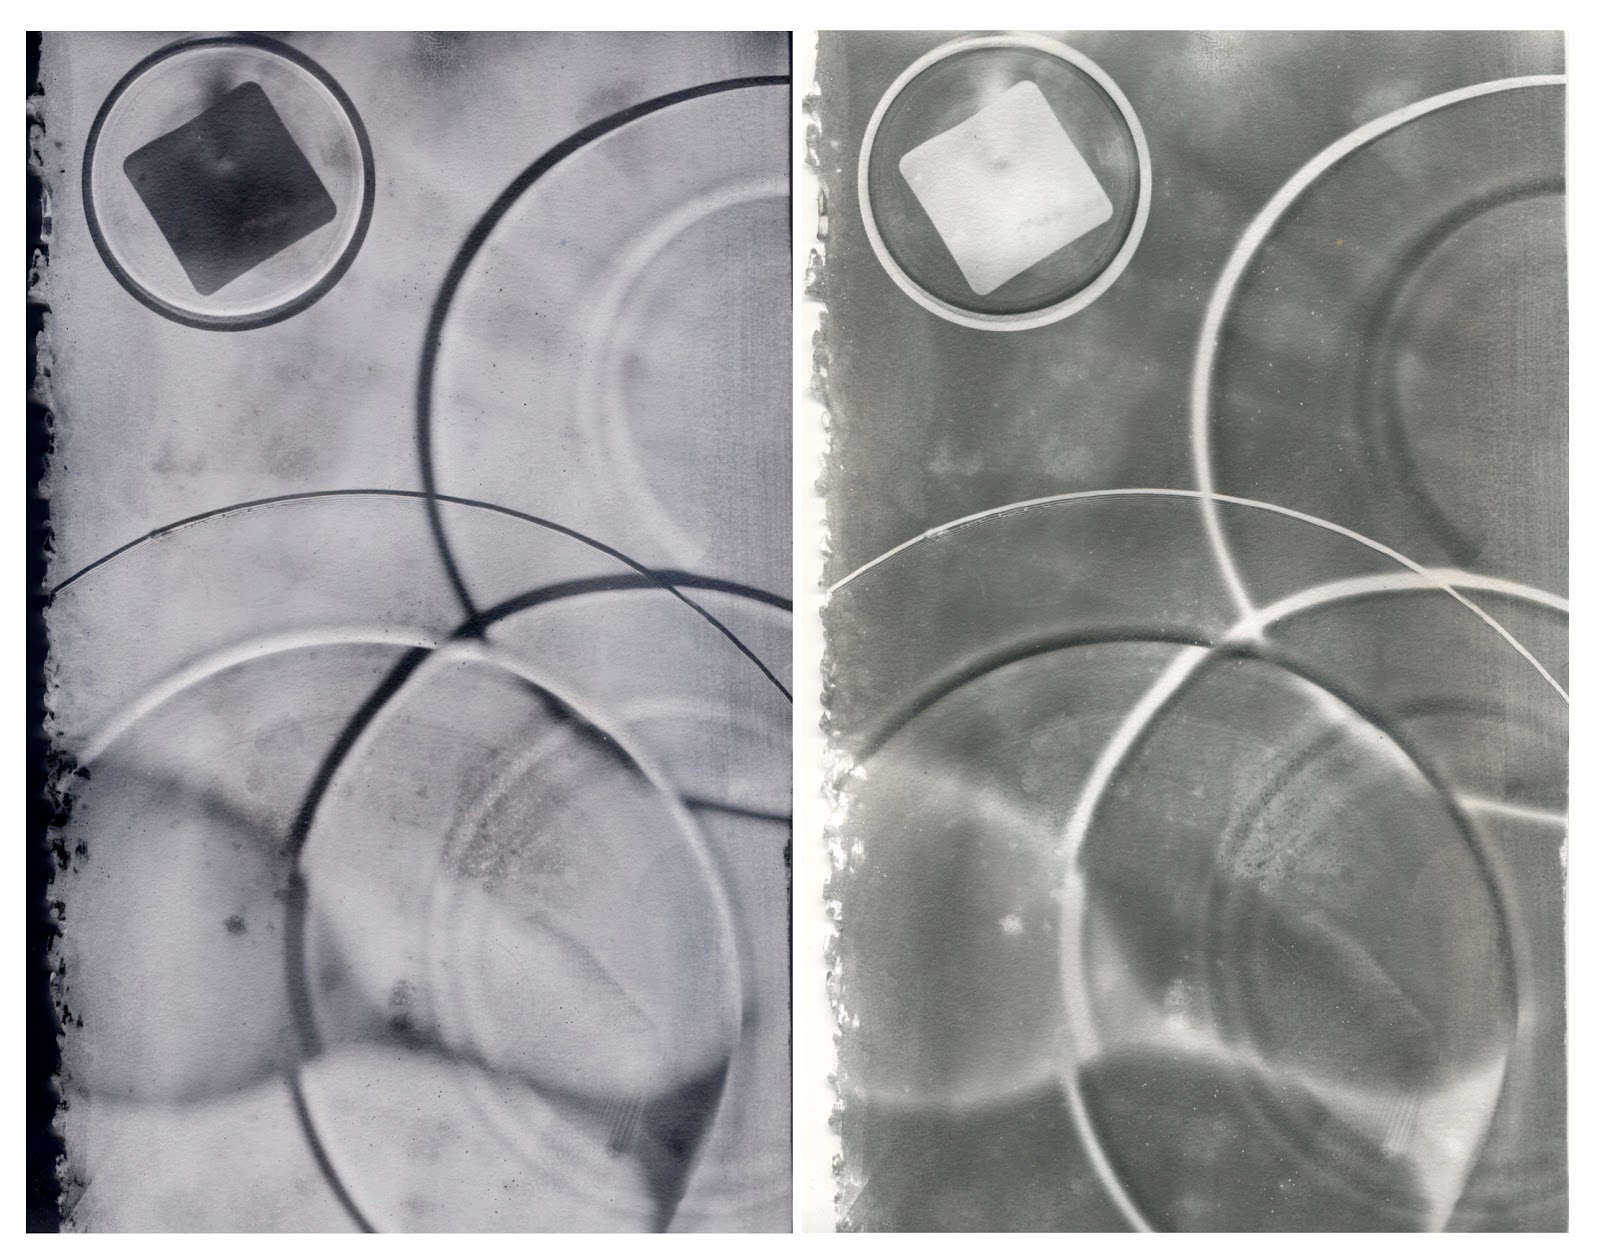
materials: glass and organic plant matter. The glass I printed on
watercolor paper and the grass I printed onto the Walmart fabric. I had
painted the emulsion of the fabric on a piece of cardboard, which gave
me the happy surprise of seeing the corrugated pattern appear in the
image. Painting the emulsion with a brush also gave a nice brush
texture to the image, which is cool. The images on the right were the
positive prints produced by the emulsion, and the images on the left are
the digitally inverted versions of those. I have two plans as to how
to achieve this, which I will test soon. One is a contact print, which
is where I would lay the positive print over an unexposed piece of
fabric and expose that directly to the light, theoretically getting a
negative print of the positive image. The other is using a small print
of the positive image that is inserted into a small projector that I
bought at Michaels which will project a large image of whatever is
placed beneath it onto the wall. Doing this would also, theoretically,
give me the result of an inverted image.

Now came the question of what to do with the canvas I had inadvertently painted with fogged emulsion. Since I knew I wasn't going to get the nice bright whites of a pure silhouette, I decided to experiment with some chemogramming, which is mixing the different processing chemicals to achieve specific effects. I grabbed a plastic bag and some more grass and a miniature of a sculpture from a previous project and laid them onto the canvas, and then loaded a paintbrush with the fixative and splattered it onto the canvas. After waiting a few minutes, I exposed the emulsion and developed, and just as I had hoped, the fixative had prevented to fogged emulsion from developing, and I was able to maintain some pure whites in the image.

No comments:
Post a Comment